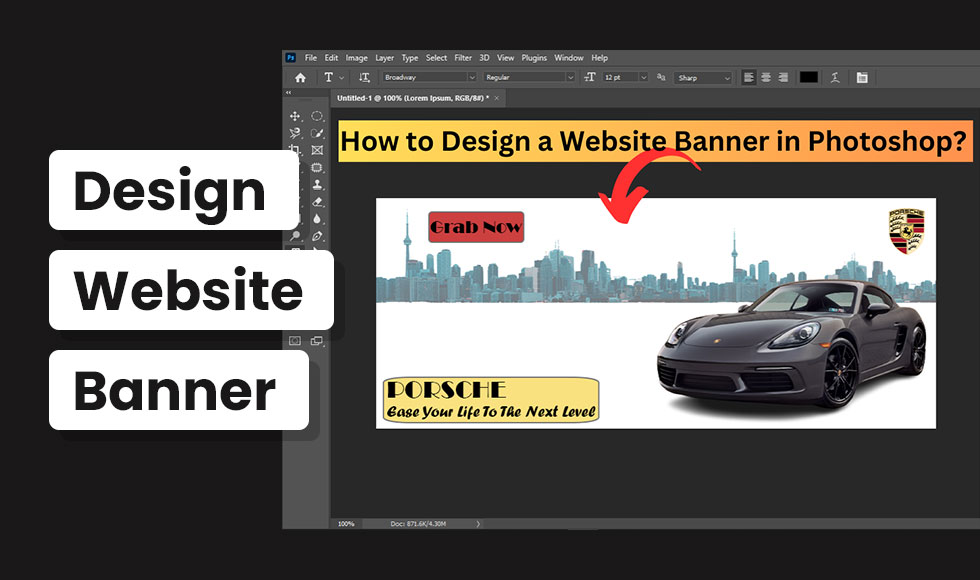
Do you want to learn on how to design a website banner in Photoshop CC that looks more attractive eye-catching? If yes, this tutorial has been made for you. Aweb banner is a large image that shows what your website is about and why people should visit it.
If you have creative thoughts and some Photoshop styles, you can create a website banner in Photoshop CC.
In this tutorial, we will talk about how to design a website banner in Photoshop CC with some easy steps. So, keep reading!
How to Design a Website Banner in Photoshop CC? [Step-By-Step Guideline]
Well! Just follow the below steps and you will have a stunning website banner in no time.
Let’s get started!
Step#1: Create a New document in Photoshop
First, you have to open your Photoshop application and make a new document with the right size for your website banner.
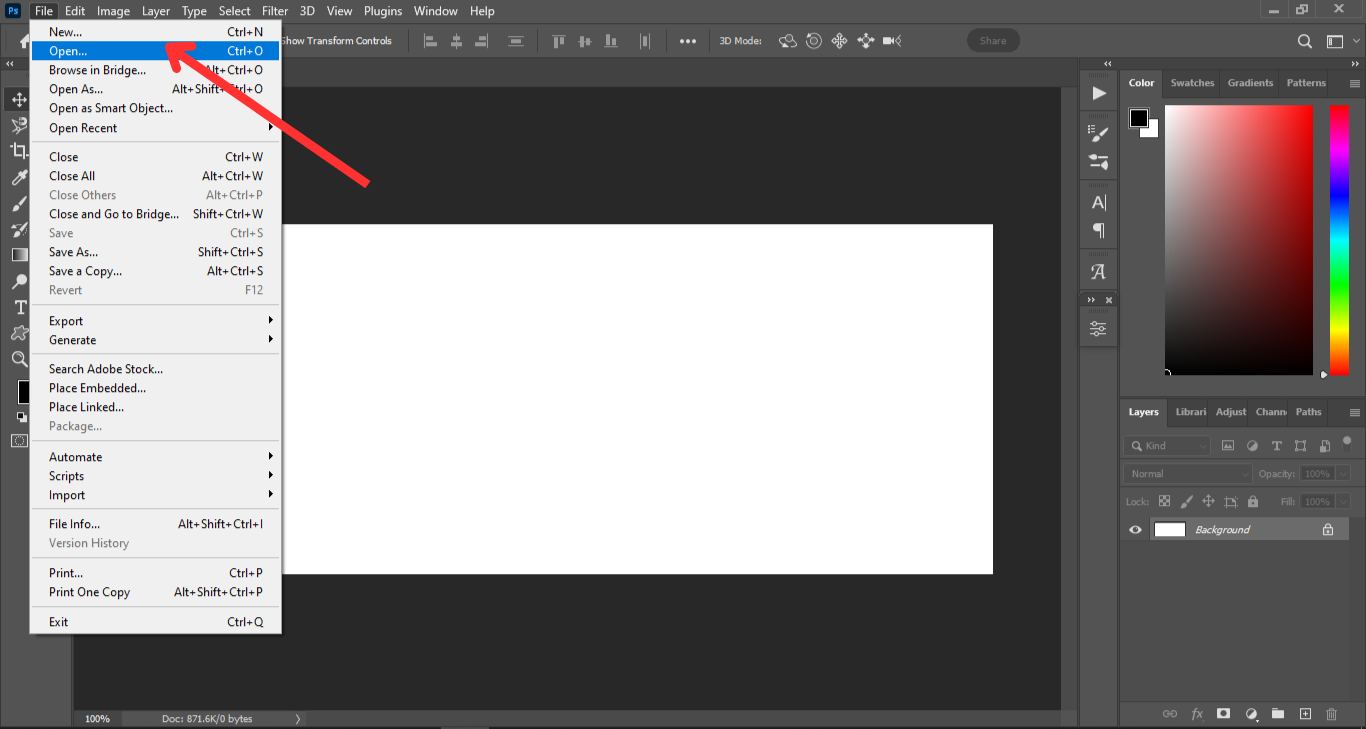
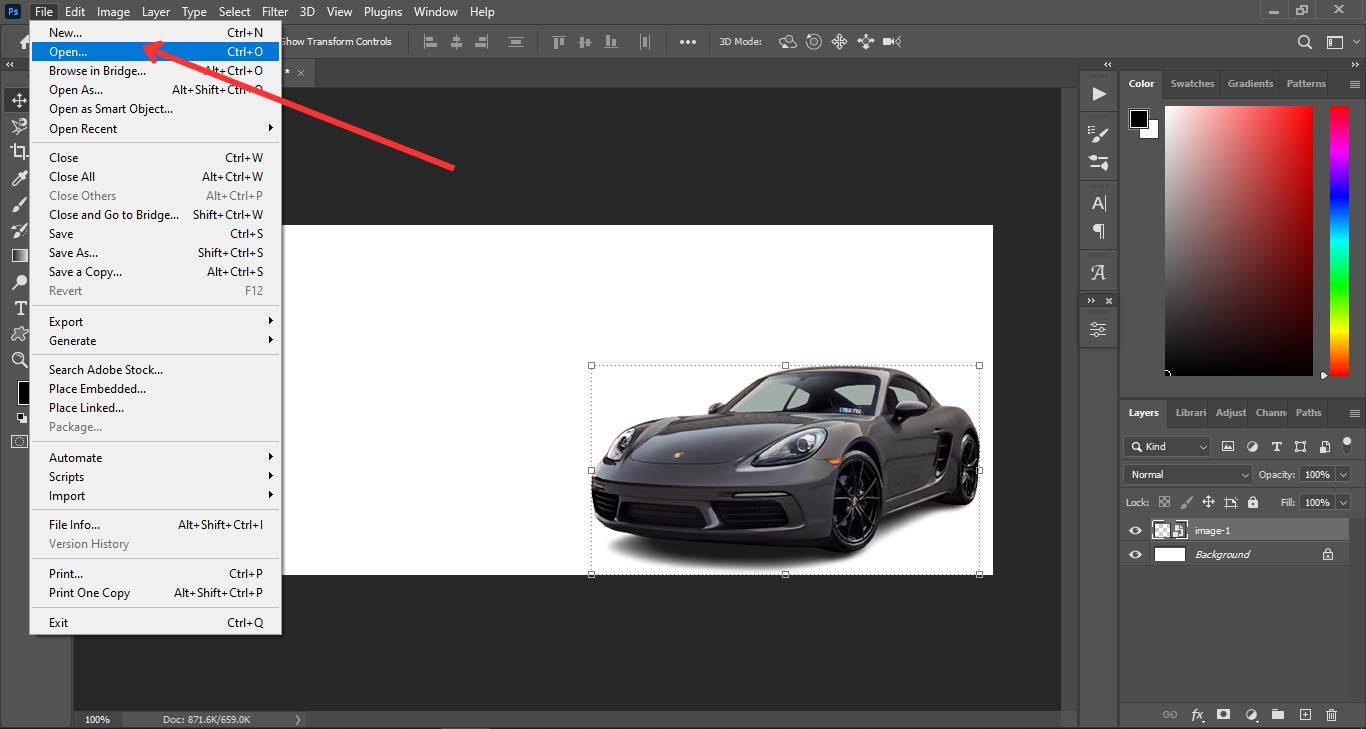
To start a new document, go to the top menu bar. Then, click on “File” and choose the “New” option.
A new window will pop up where you can select the size of your project. For this tutorial purpose, we have used a size of 850 pixels wide and 350 pixels high. You can type your required numbers in the Width and Height boxes.
Then, click on the “Create” button.
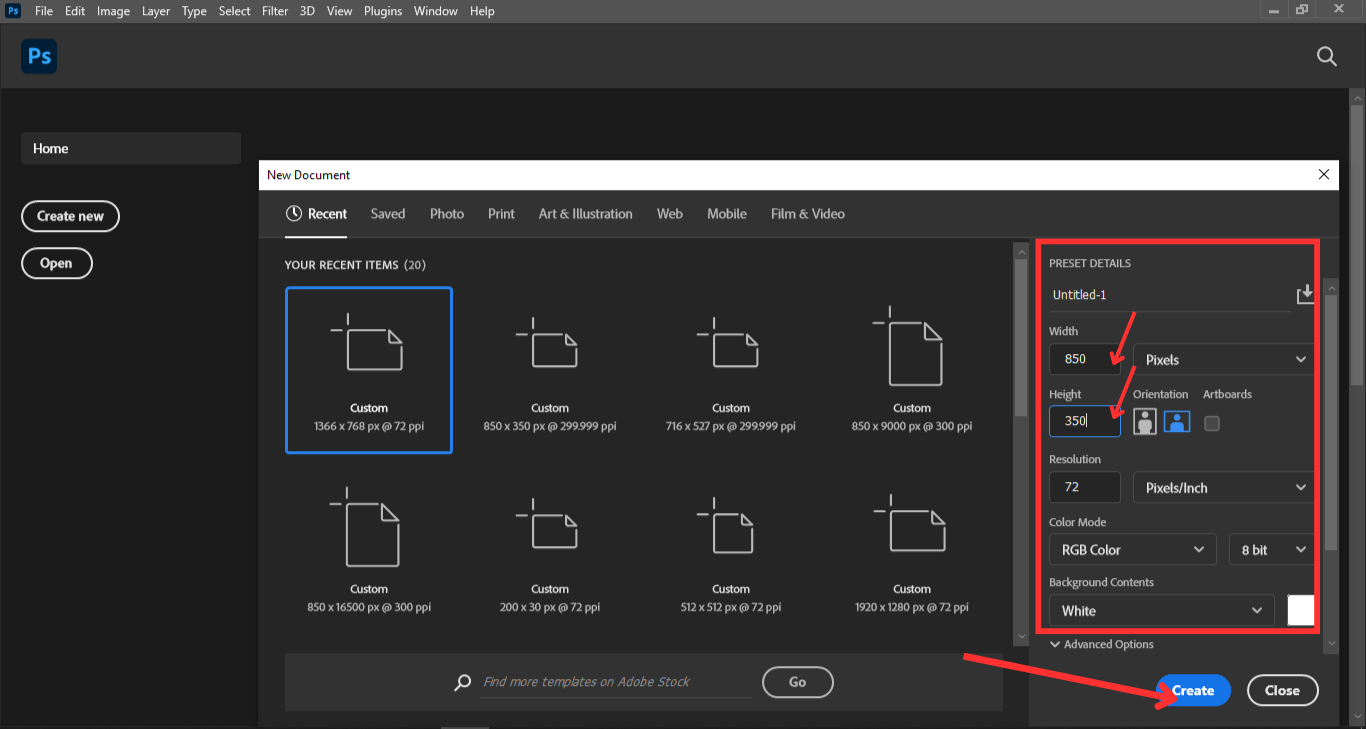
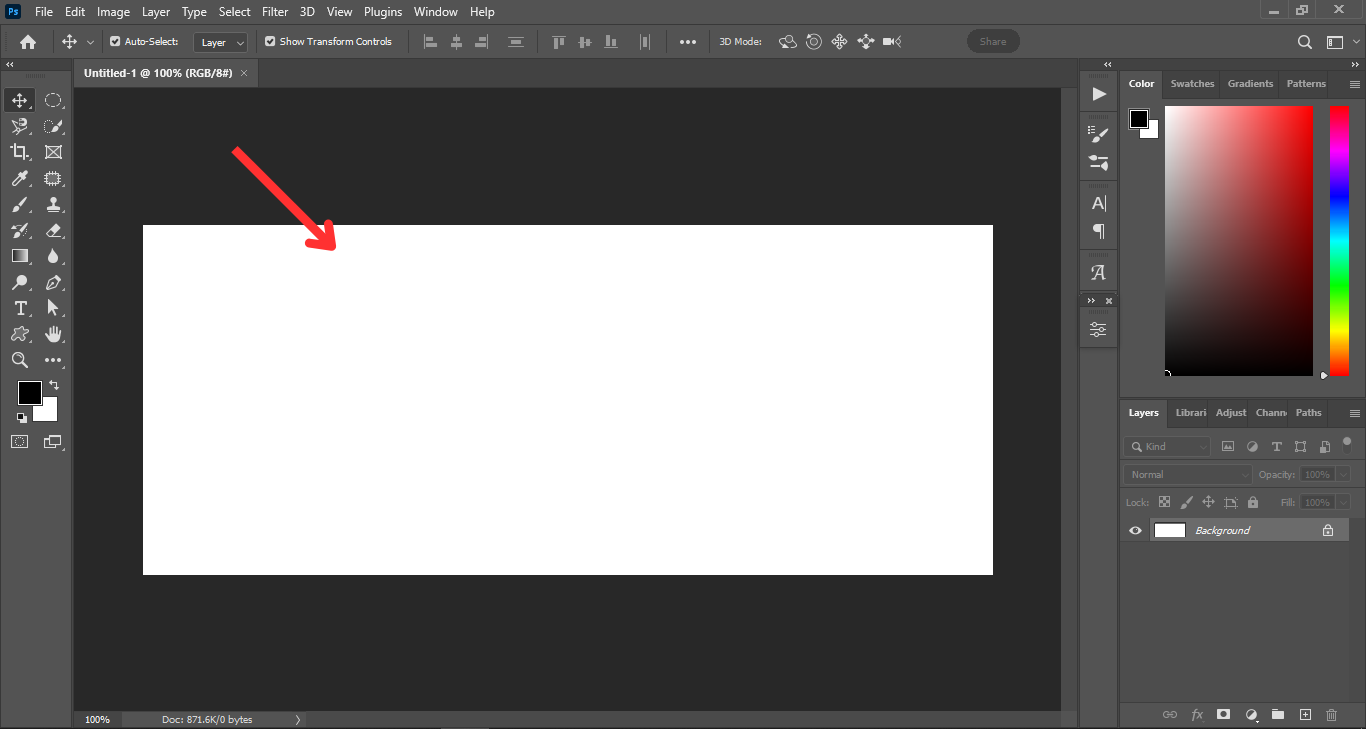
Now, you will see your blank white document.
Step#2: Add Your First Image
Now, you can use any images you want, as long as they have a transparent background. If the image is not in transparent background, you may use background removal service provider online.
To add an image, you can either open it from your computer or drag it from another window.
To open an image, click on File and then Open.
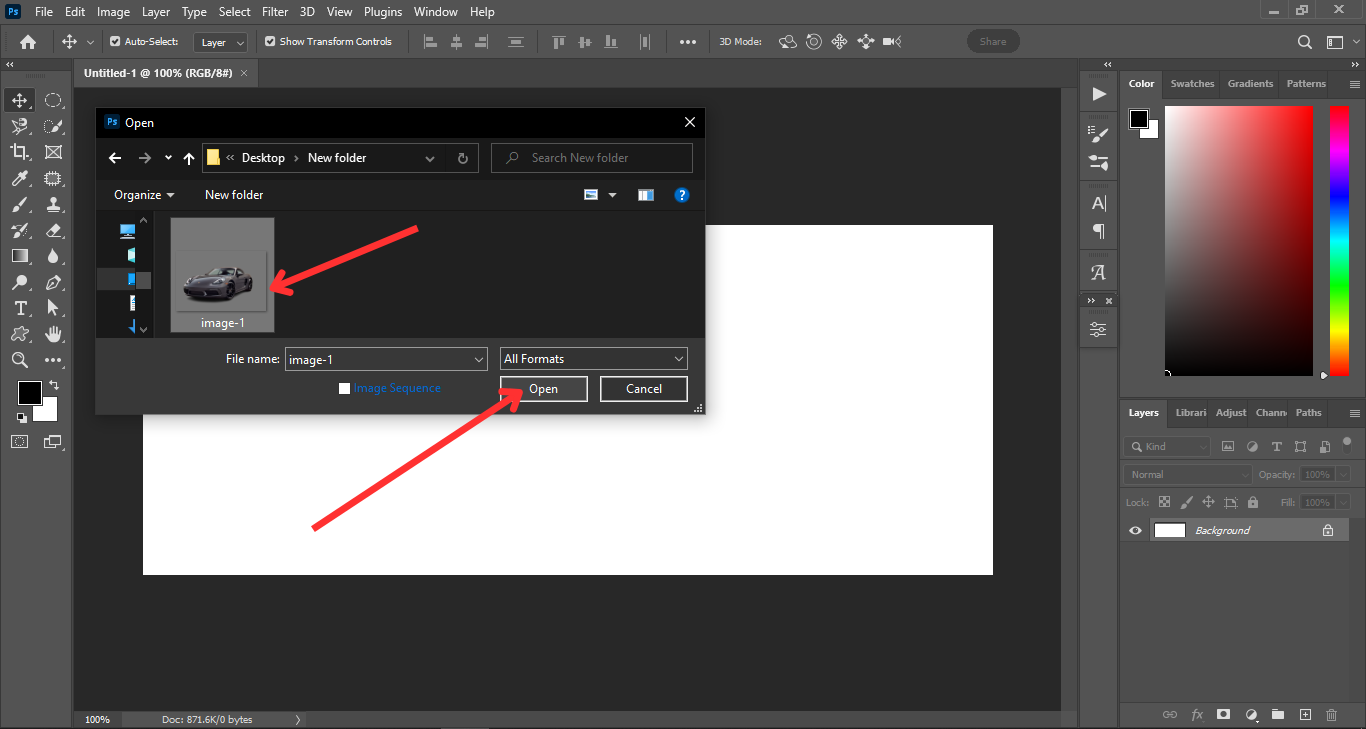
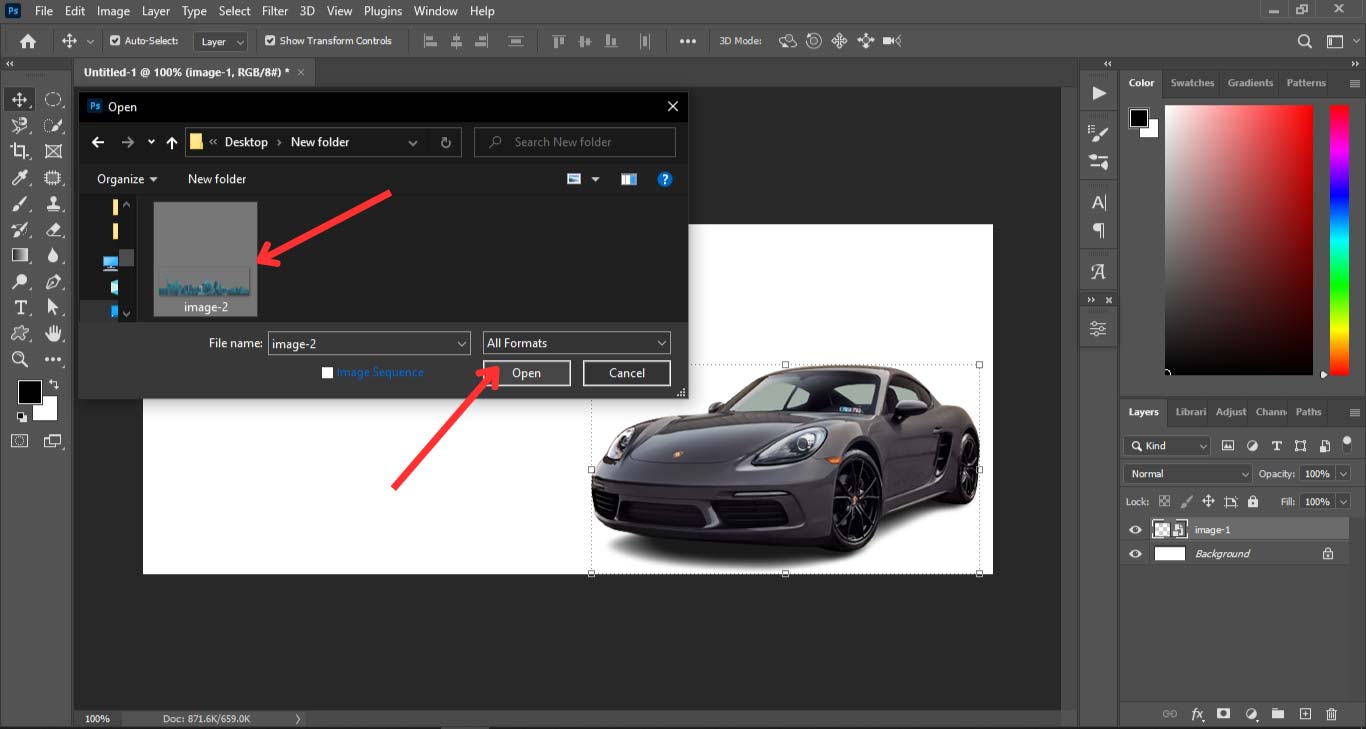
Then, find the image on your computer. Select it and click on the Open.
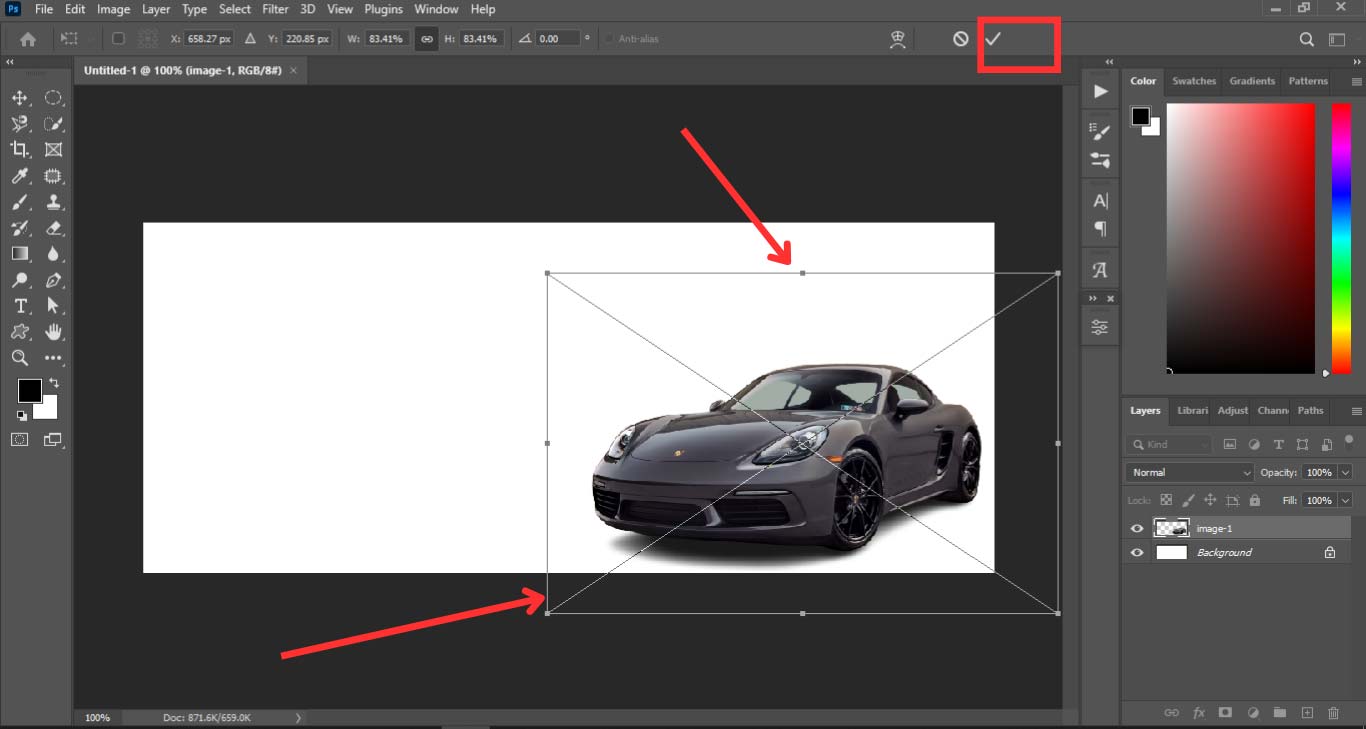
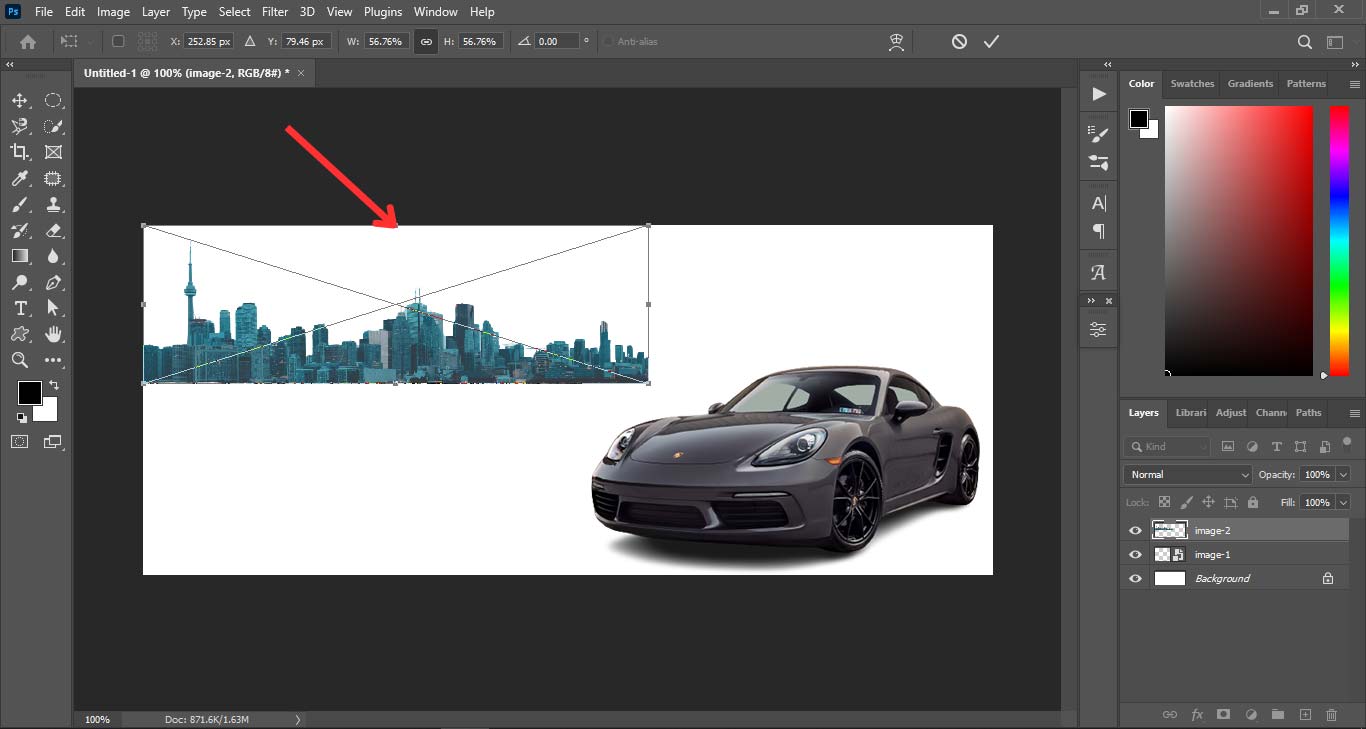
Once you have added the image, you can move it around by clicking on it and dragging it. Try to position the image in a way that looks good on your project.
Step#3: Add Your Second Image
Next, you need to add another image to your document. You can use the same method as before to add the second image. Make sure that this image also has a transparent background.
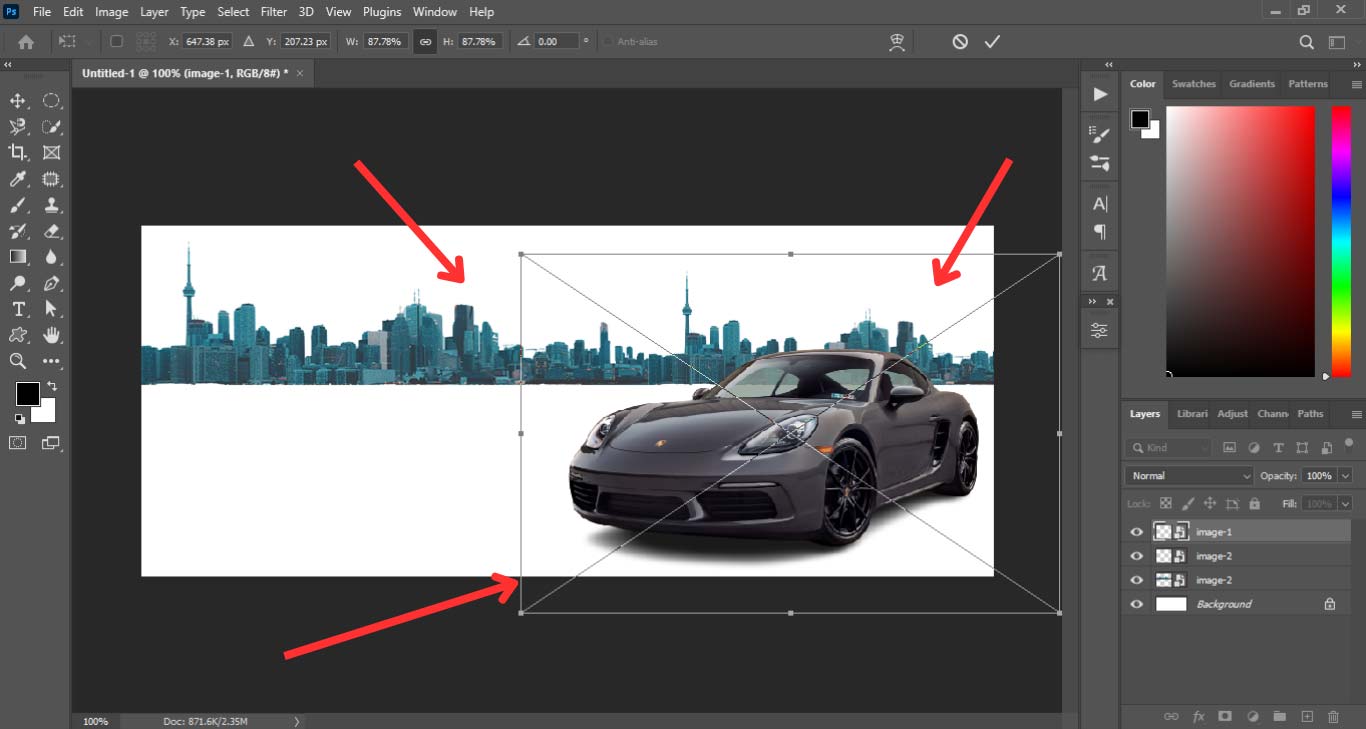
Step#4: Add More Images or Copy from the Existing One
You can keep adding more images to your document if you want. You can also copy some of the images that you already have and use them again.
To copy an image, right-click on its layer in the layer’s panel and choose Duplicate Layer. Then, move and resize the copied image as you like. Also, move the layers up and down as you wish.
Step#5: Adjust the Opacity Level of Images
This step is optional, but it can make your web banner look more interesting. You can change how bright or dark an image is by adjusting its opacity.
To change the opacity of an image, click on its layer in the layer’s panel and look for a slider at the top of the panel that says Opacity. You can drag this slider left or right to change how much opacity the image has and do this thing until you find a good combination.


Step#6: Add Your Branding Elements
Now, it’s time to add some elements that show what your website is about and who you are. These elements are called branding elements, and they include things like your logo, your name, your slogan, etc.
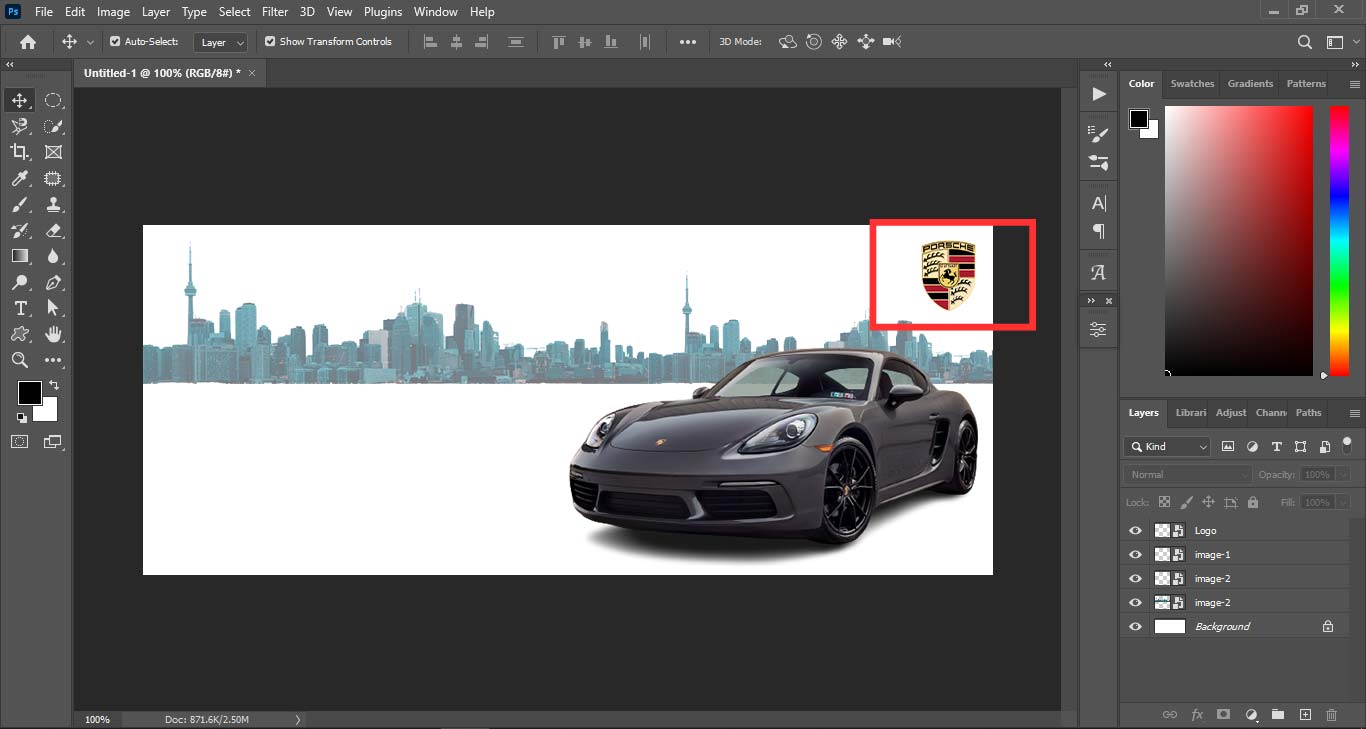
For this tutorial purpose, firstly we have added the company’s logo icon [for an example].
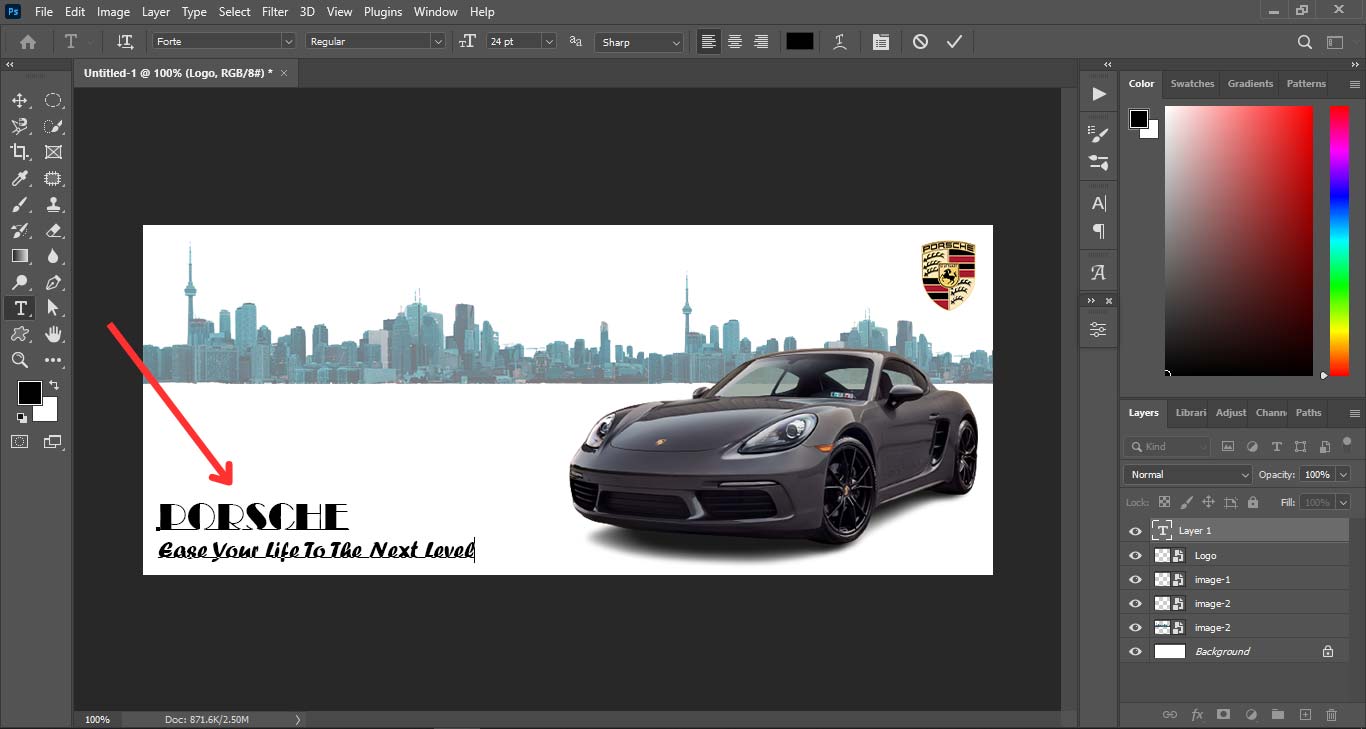
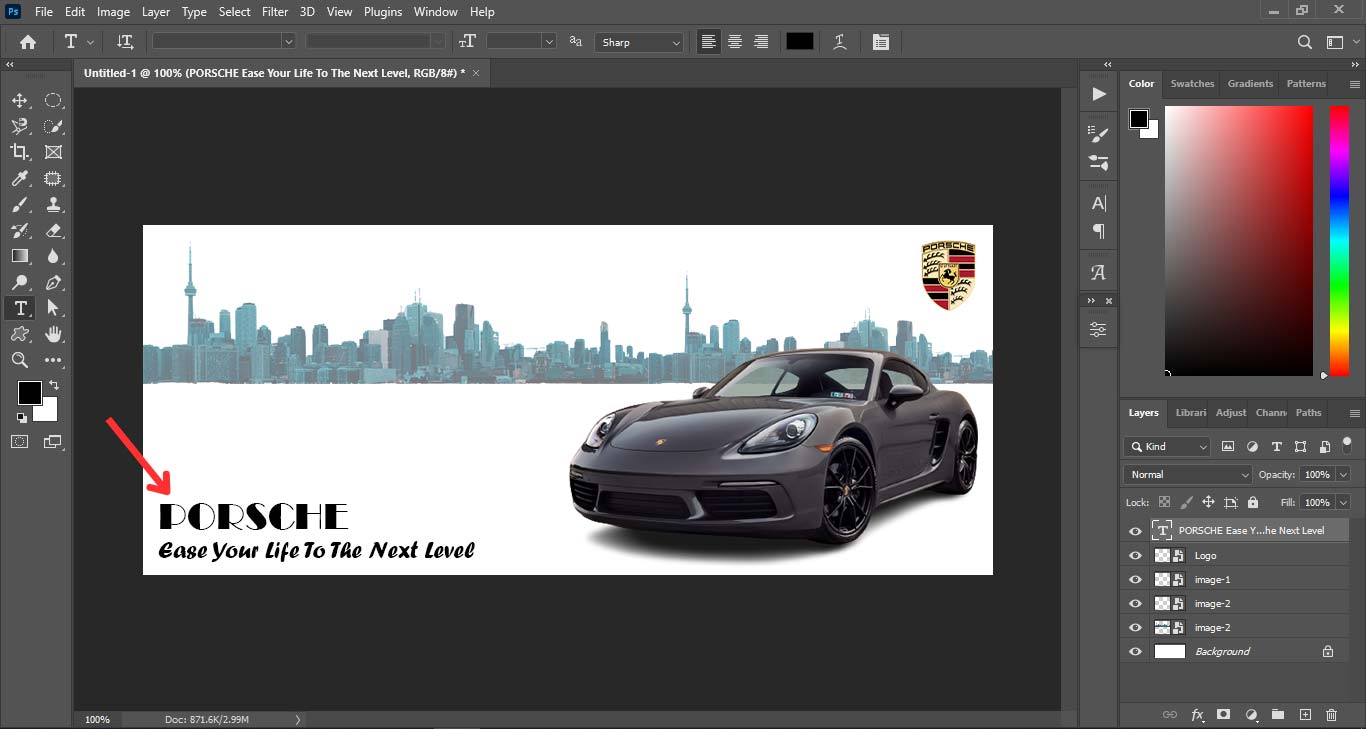
Then, we added a name, and dummy slogan to our banner to make it more interesting. To add these elements, use the Text tool. Click on the T icon on the left side of the screen. See the below image.

Then, click anywhere on the document and start typing. You can change the font, size, color, and style of your text by using the options at the top of the screen.
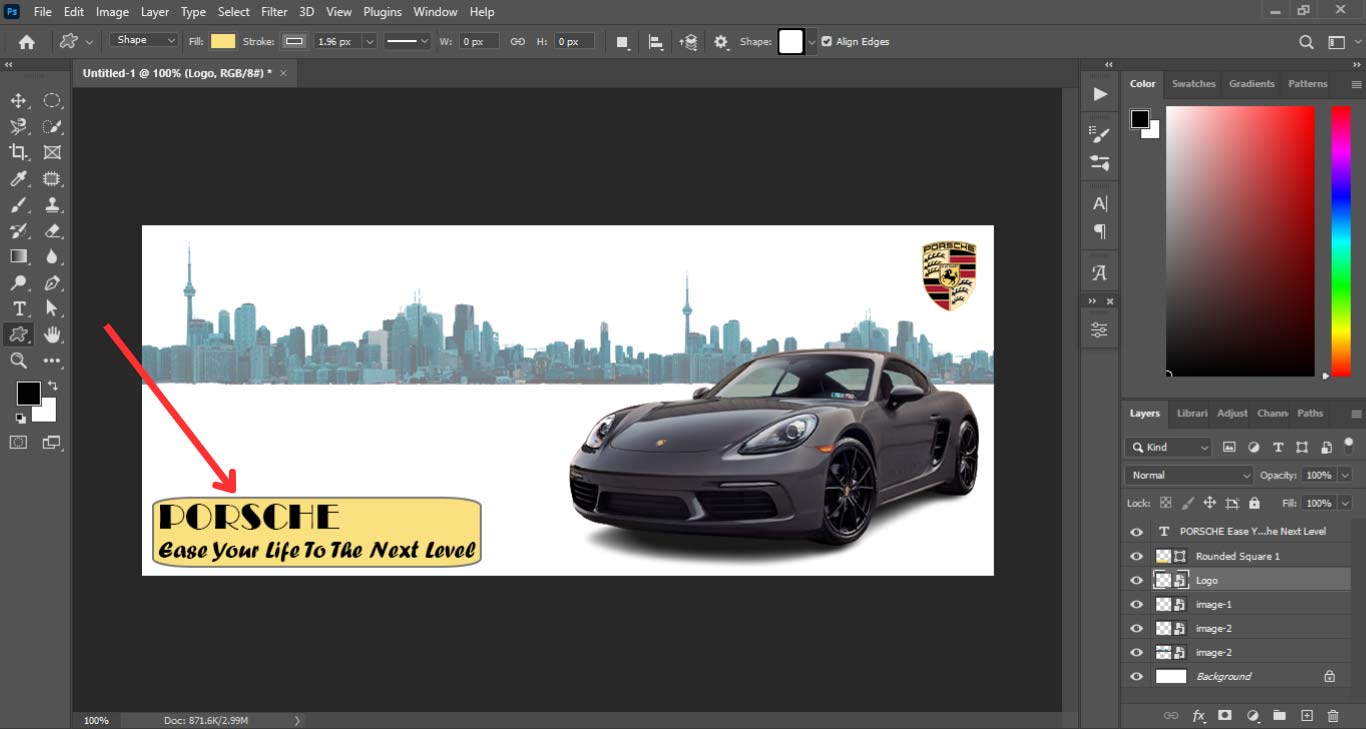
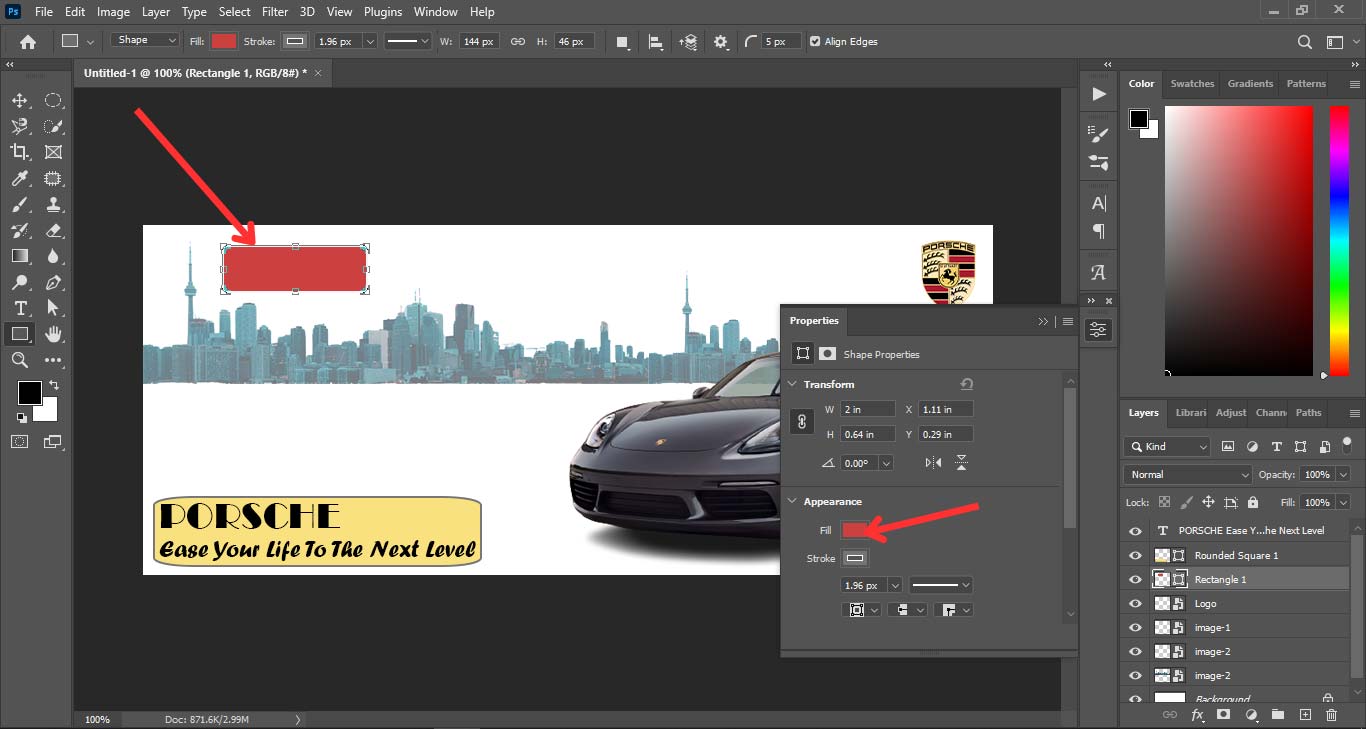
Step#7: Add The Company’s Brand Color
One more thing that you can make your website banner more gorgeous is to add some color to it. You can use a color that matches your website, your logo, or any color that you like. To do that, see the below images:

Step#8: Adding An Eye-catchy CTA
You are almost done! The last thing that you need to do is to add a call to action (CTA) to your website banner. The CTA button tells people what to do next, such as Visit Now, Grab Now, Order Now, Join Now, etc.
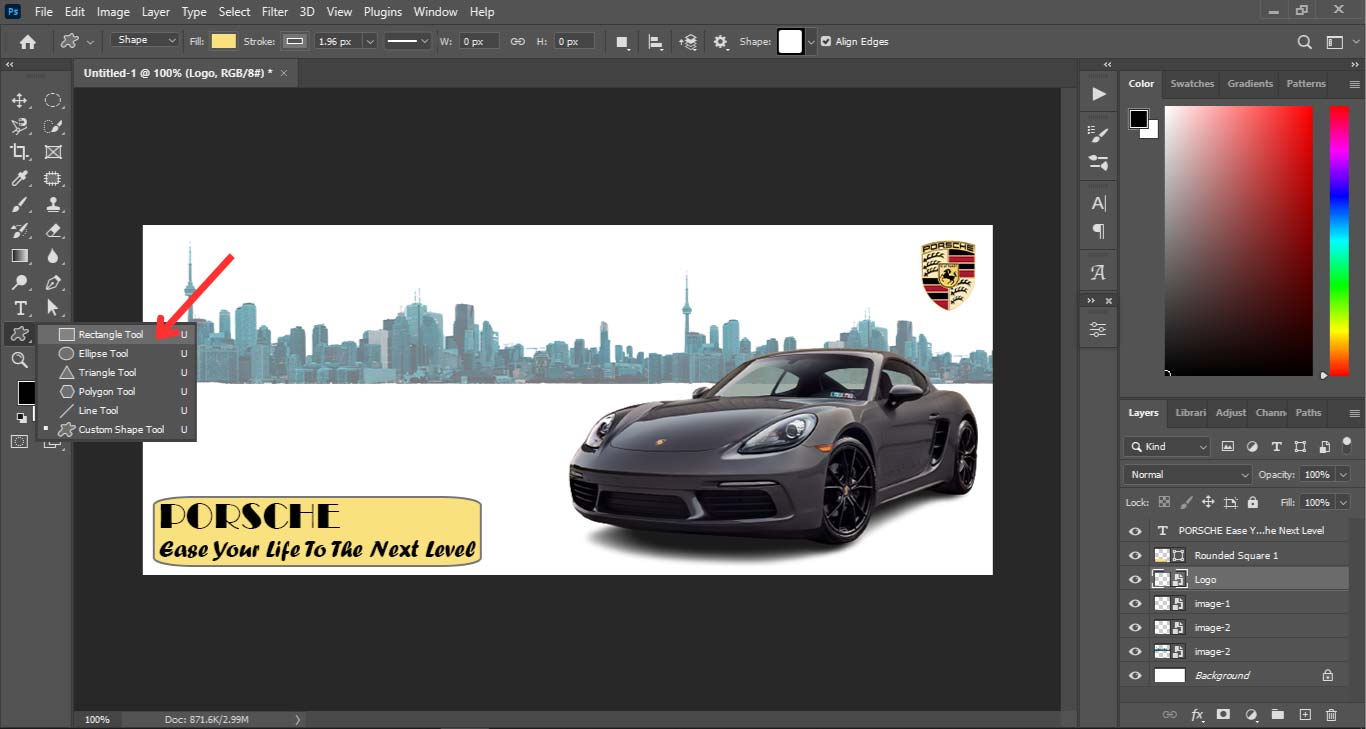
To add a call to action, you can use both the text tool and the shape tool. Look at the below images to understand easily.

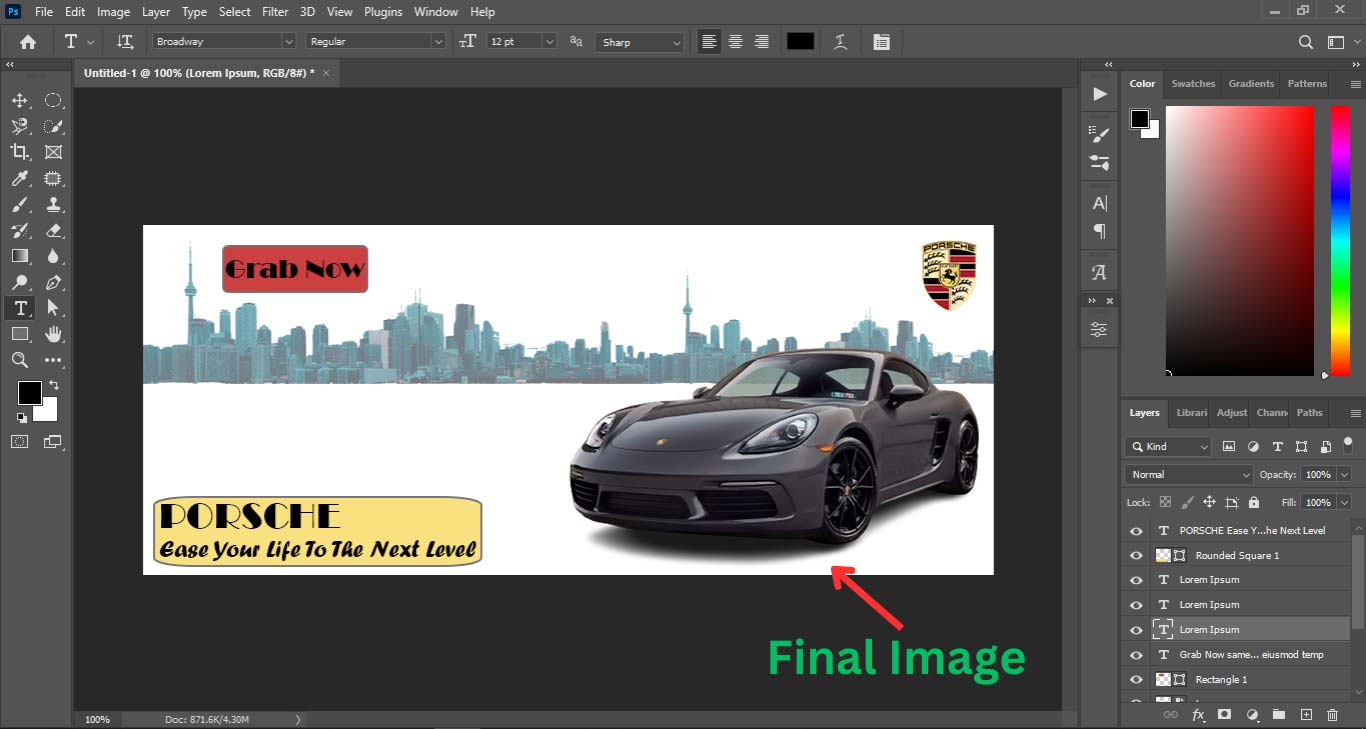
In this tutorial, we have added a button that says “Grab Now” to our web banner.
Step#9: Get your final image
And that’s it! You have just created your own website banner using Adobe Photoshop CC. Congratulations! Here is our final website banner:
Final Notes About How to Design a Website Banner in Photoshop CC
After reading this step-by-step tutorial, you’re able to learn how to make a website banner in Photoshop. The key things you’ve also educated, such as how to adjust the image’s size, position, and opacity of the elements, how to add a call to action to the website banner, etc.
By following these easy steps, you can create a web banner that looks stunning. You can use your banner to promote your website and attract more visitors.
Finally, we hope you enjoyed this tutorial and learned something new. If you have any questions or feedback on how to design a website banner in Photoshop, please let us know in the comment below.
Thank you for reading!